


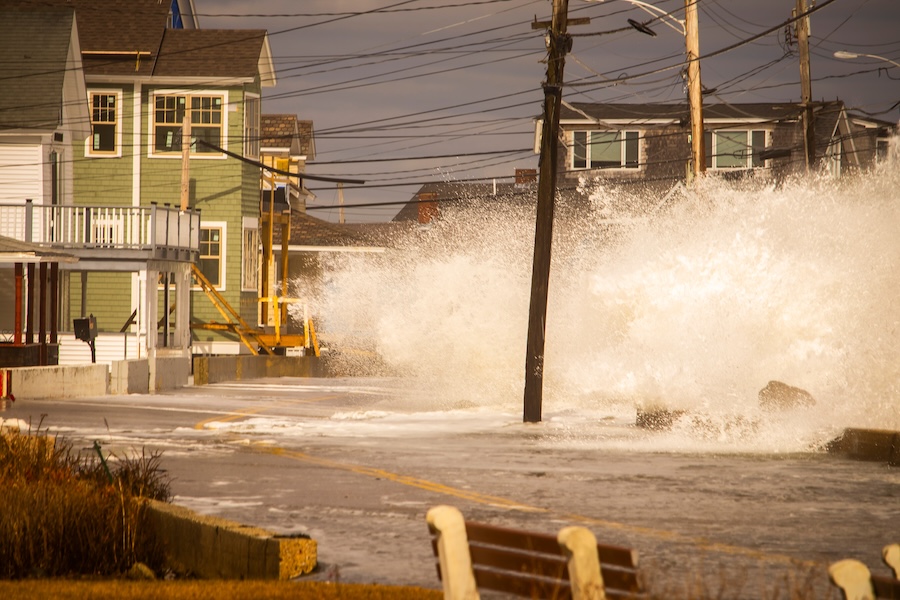
The Hurricane-Proof Seawall Checklist
View the complete article here.
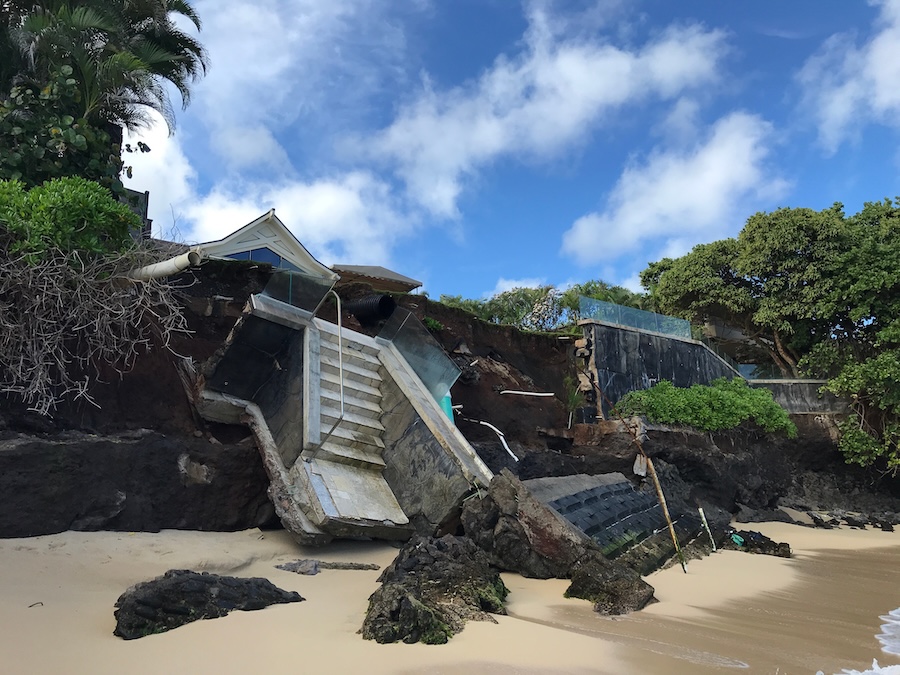
The morning after a major hurricane, the waterfront reveals the truth about any seawall. Some walls stand exactly as they were constructed, while others are twisted steel confetti halfway across the bay. Below are ten tips for seawall pre-construction, construction, and post-construction.
1. Sheet Pile Selection
Light-gauge sheets belong on lakes, not on any coastline that has ever seen a named storm. For normal residential or commercial waterfront, nothing lighter than AZ 18-700 or PZ 35 should ever leave the yard. On open Gulf or Atlantic exposures where surge routinely exceeds 10 feet, step straight up to AZ 26-700, AZ 28-700, or heavier. Steel must be minimum ASTM A572 Grade 50, and A690 mariner grade is mandatory anywhere the splash zone stays wet half the year. When surge plus wave height tops 12 feet, a combi-wall with tubular king piles 24 to 48 inches in diameter and ½- to ¾-inch wall thickness in A690 is no longer optional; it’s the only system that still exists the day after landfall. Vinyl, fiberglass, and light aluminum disappear so completely that divers can’t even find the tie-backs.
2. Embedment Depth
Post-storm forensics are brutal but consistent: if the toe isn’t deep enough, the wall rotates, the tie-backs pop, and the whole structure slides backward into the canal. In soft Gulf muds and organic silts the embedment has to be at least 1.5 times the combined design surge plus wave height. In medium coastal sands, 1.2 times is usually enough. In stiff clays or very dense sands you can sometimes get away with 1.0 times, but never less. A 12-foot surge with 4-foot breaking waves means you need 24 feet of embedment in mud or 19 feet in sand. Anything shallower on the plans is an invitation to watch your work float away on live television.

3. Tie-Backs and Deadmen
Deadmen buried in backfill look great on paper until the first 30 seconds of shaking turns the soil to soup. Helical anchors or battered pipe piles have proven themselves over and over when everything else fails. Space tie-rods no farther than 8 to 10 feet vertically on high-exposure walls, use only galvanized or epoxy-coated rod and hardware (stainless if the owner will pay), and pre-load every single anchor to 150 percent of design load the day it’s installed. If it creeps more than half an inch, keep screwing or drive a longer pile. Double-nut every connection; vibration from wind and waves will back a single nut in hours.
4. Walers and Cap
A single waler on a wall taller than 10 feet exposed is asking for catastrophe. Double channel walers back-to-back, continuously welded to every sheet or king pile, are the only way to distribute the load when waves hit like freight trains. Skip welding always fails first. The concrete cap must be poured monolithically with rebar dowels into the sheets or king piles; precast caps that merely rest on top become airborne missiles above 120 mph. Minimum reinforcement is #6 bars at 8 inches top and bottom, tied the full length of the wall.
5. Corrosion Protection
In the splash and intertidal zones, 100-mil coal-tar epoxy plus an extra ⅛ inch of sacrificial steel thickness is the bare minimum. On walls longer than 300 feet or in soils with resistivity below 1,500 ohm-cm, install galvanic anodes every 10 to 15 feet. Paint-only systems are for freshwater retention ponds, not for anything that will see storm surge. The walls that rusted through in five years after Ida looked brand-new the day they were driven.
6. Scour Protection
Storm surge doesn’t politely lap at the wall; it rips the bottom out from under it. A rip-rap apron at least 3 feet thick with D50 stone of 18 to 24 inches, extending 15 to 20 feet waterward, is mandatory. In areas with strong longshore currents, place articulated concrete mattress or heavy geotextile beneath the armor stone. Non-woven filter fabric of at least 8 ounces must separate soil from rock, and the sheet-pile toe has to sit a minimum of 3 feet below the predicted scour depth—use USACE equations or simply double the design wave height, whichever is deeper.
7. Overtopping and Pressure Relief
No wall built today is high enough to stop a worst-case surge, so design for overtopping from the beginning. Anchor the soil landward of the wall with pinned geotextile or turf-reinforcement mat so it doesn’t scour out when water pours over the cap. Install weep holes with rodent-proof flap valves or crushed-stone chimneys every 10 feet to bleed off hydrostatic pressure behind the wall. Walls that trap water on the land side blow out backward long before the waves destroy the front.
8. Construction Quality
Seal every interlock with bitumastic or cold-joint compound; unsealed seams leak, corrode, and unzip the entire wall under cyclic loading. Drive sheets in pairs or full panels—single-sheet driving guarantees dog-legs and lost interlock. Hold plumb to 1 inch in 40 feet maximum; anything looser turns wave load exponential. Log driving resistance every sheet; a sudden drop in blows or vibro amperage means you just punched into an old dredge pocket or buried log. Stop, probe, and fix it that day.
9. The Emergency Repair Kit You Should Already Own
Keep 20 to 30 spare sheets of the same section in your yard, a portable vibro or drop hammer ready to mount on an excavator or barge, 200 tons of rip-rap on 24-hour call, rolls of heavy filter fabric, and a skid-steer with forks. When the governor declares the emergency, the supply chain is likely already gone. The contractors who started repairs the same week as the storm all had this stuff sitting behind the shop before the hurricane even had a name.
10. Insurance and FEMA Documentation
Take pre-storm photos every 50 feet with GPS time stamps, have an as-built survey showing exact top-of-wall elevations and toe depths, keep material mill certs and coating thickness reports in both digital and hard copy, and make the superintendent sign daily logs. FEMA will not reimburse a single dime if you can’t prove the wall was built to survive the storm you’re claiming it survived.
View the complete article here.
What steel grade and sheet-pile thickness should I use for a seawall exposed to hurricanes?
Use at least ASTM A572 Grade 50 or A690 mariner grade, with AZ 18-700 minimum for normal coasts and AZ 26–28 or heavier for high surge areas.
How deep should a seawall’s toe be embedded for stability?
Embed the toe at least 1.5 times the design surge plus wave height in soft soils and 1.2 times in medium sands.